Nested Navigation Graphs in Jetpack Compose

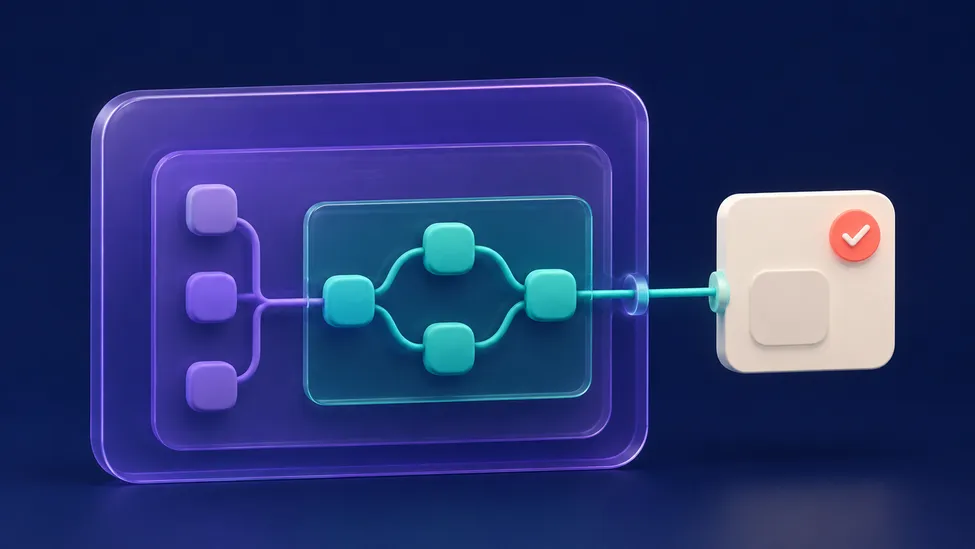
Quick answer: Use a nested navigation graph when several destinations form one self-contained flow—such as onboarding, sign-in, checkout, or setup. Declare it with
NavGraphBuilder.navigation(), give the graph its own route, and keep its internal destinations behind that boundary.
Nested graphs make the top-level graph describe major app areas rather than every screen. Android’s nested-graphs guidance also highlights encapsulation: outside destinations should enter the flow through the graph, while the flow can change internally without leaking its implementation.
Model a feature flow with typed routes
import androidx.navigation.NavGraphBuilder
import androidx.navigation.NavHostController
import androidx.navigation.compose.composable
import androidx.navigation.navigation
import kotlinx.serialization.Serializable

@Serializable data object MainGraph
@Serializable data object OnboardingGraph
@Serializable data object Welcome
@Serializable data object CreateAccount

fun NavGraphBuilder.onboardingGraph(
    navController: NavHostController,
    onFinished: () -> Unit,
) {
    navigation<OnboardingGraph>(startDestination = Welcome) {
        composable<Welcome> {
            WelcomeScreen(onContinue = {
                navController.navigate(CreateAccount)
            })
        }
        composable<CreateAccount> {
            CreateAccountScreen(onFinished = onFinished)
        }
    }
}
The navigation() call creates a graph destination, not a visible screen. Its route identifies the subflow; its startDestination identifies the first internal screen. Current Navigation APIs support typed graph and destination routes, which make arguments and refactoring safer than hand-built route strings.
Keep the parent graph focused
NavHost(navController, startDestination = MainGraph) {
    composable<MainGraph> {
        MainScreen(onStartOnboarding = {
            navController.navigate(OnboardingGraph)
        })
    }
    onboardingGraph(navController = navController,
        onFinished = {
            navController.navigate(MainGraph) {
                popUpTo(OnboardingGraph) { inclusive = true }
            }
        },
    )
}
The top level knows that an onboarding flow exists, but it does not need to know each step. Treat this as an ownership boundary, not merely visual indentation. A feature can expose a graph-builder extension, while its screens remain private to its navigation package.
Choose the right start destination
The main graph’s start destination should be the normal place users land after completing the subflow. For example, make the signed-in home screen the app start destination and enter the sign-in graph only when needed. This avoids making a temporary setup flow the app’s permanent entry point.
Do conditional navigation after the normal destination appears; do not make graph construction depend on asynchronous state. When the flow completes, remove it from the back stack so Back does not return the user to sign-in or onboarding.
Back stack rules to test
| User action | Expected result |
|---|---|
| Enter a subflow | Its start destination opens |
| Move between internal steps | Back moves through only those steps |
| Finish the flow | Return to the parent area and remove the completed graph |
| Deep link into a child | Navigation supplies start destinations for nested graph levels |
Deep links and nested graphs interact through the normal Navigation back-stack rules; verify the resulting stack for your app. See Deep Links with Navigation Compose for manifest and App Links setup.
Common mistakes
Exposing every internal route across the app
It couples callers to a feature’s steps. Prefer navigating to the graph route from outside and use feature-specific events internally.
Creating a second NavController for every feature
A separate controller is sometimes justified for independent panes, but most nested flows belong in one controller and one host. A nested graph is the lightweight organization tool.
Forgetting to pop a completed flow
After sign-in or setup, explicitly pop the graph inclusively when appropriate. Otherwise Back can revisit a completed or invalid step.
Practical checks
- Enter, complete, cancel, and resume the subflow with the Back button.
- Confirm internal implementation routes are not needed by unrelated features.
- Test configuration change and process recreation with the active nested destination.
- Keep a route’s data minimal; load models from a source of truth instead of passing them through graph boundaries.
For argument boundaries, read Passing Arguments Between Compose Destinations. For destination-level app links, read Deep Links with Navigation Compose.
FAQ
Does a nested graph create a new NavController?
No. It is a graph destination inside the controller’s associated NavHost. It organizes destinations and back-stack behavior without creating another controller.
Can a nested graph have deep links?
Yes. Configure deep links on the destinations users should reach, then test the resulting nested back stack and external Android intent routing.